Tag: eco dye
-
The Art of Textiles Retreat in Italy
I’m very excited that I’ll be teaching a week-long textiles retreat in Tuscany, Italy this September with Made on Holiday. The week includes exploring antiques markets and museums for inspiration and four days of tuition, covering design development, embroidery, natural dye and fabric manipulation techniques. All of this will take place in a beautiful setting…
-
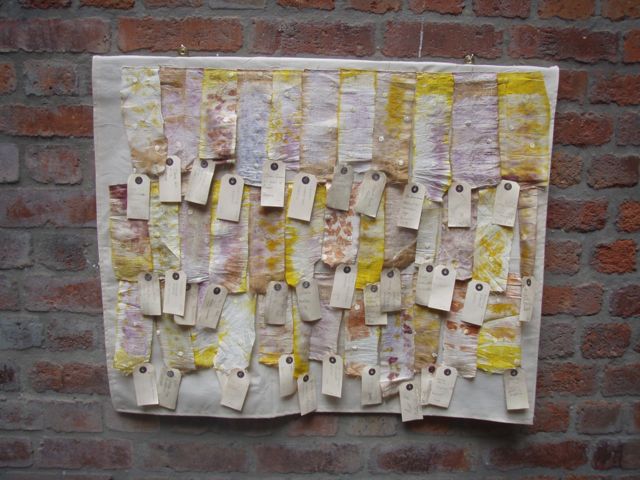
Community sustainable textiles project
I recently completed a short project for Sustainable Harborough using natural dyes and local plants to create a textile wall hanging for the local library. They asked me to propose a workshop for a town centre activity day which local people could join in with and result in something attractive and informative for display at…
-
Postcard from Chateau Dumas 1
I’m not long back from a glorious week teaching at Chateau Dumas. It is as wonderful as it looks. I’ve never had such a luxurious teaching experience! The Art of Textiles course covered masses of creative techniques over the course of 6 days and we started with my experimental and freestyle approach to natural dyes.…
-
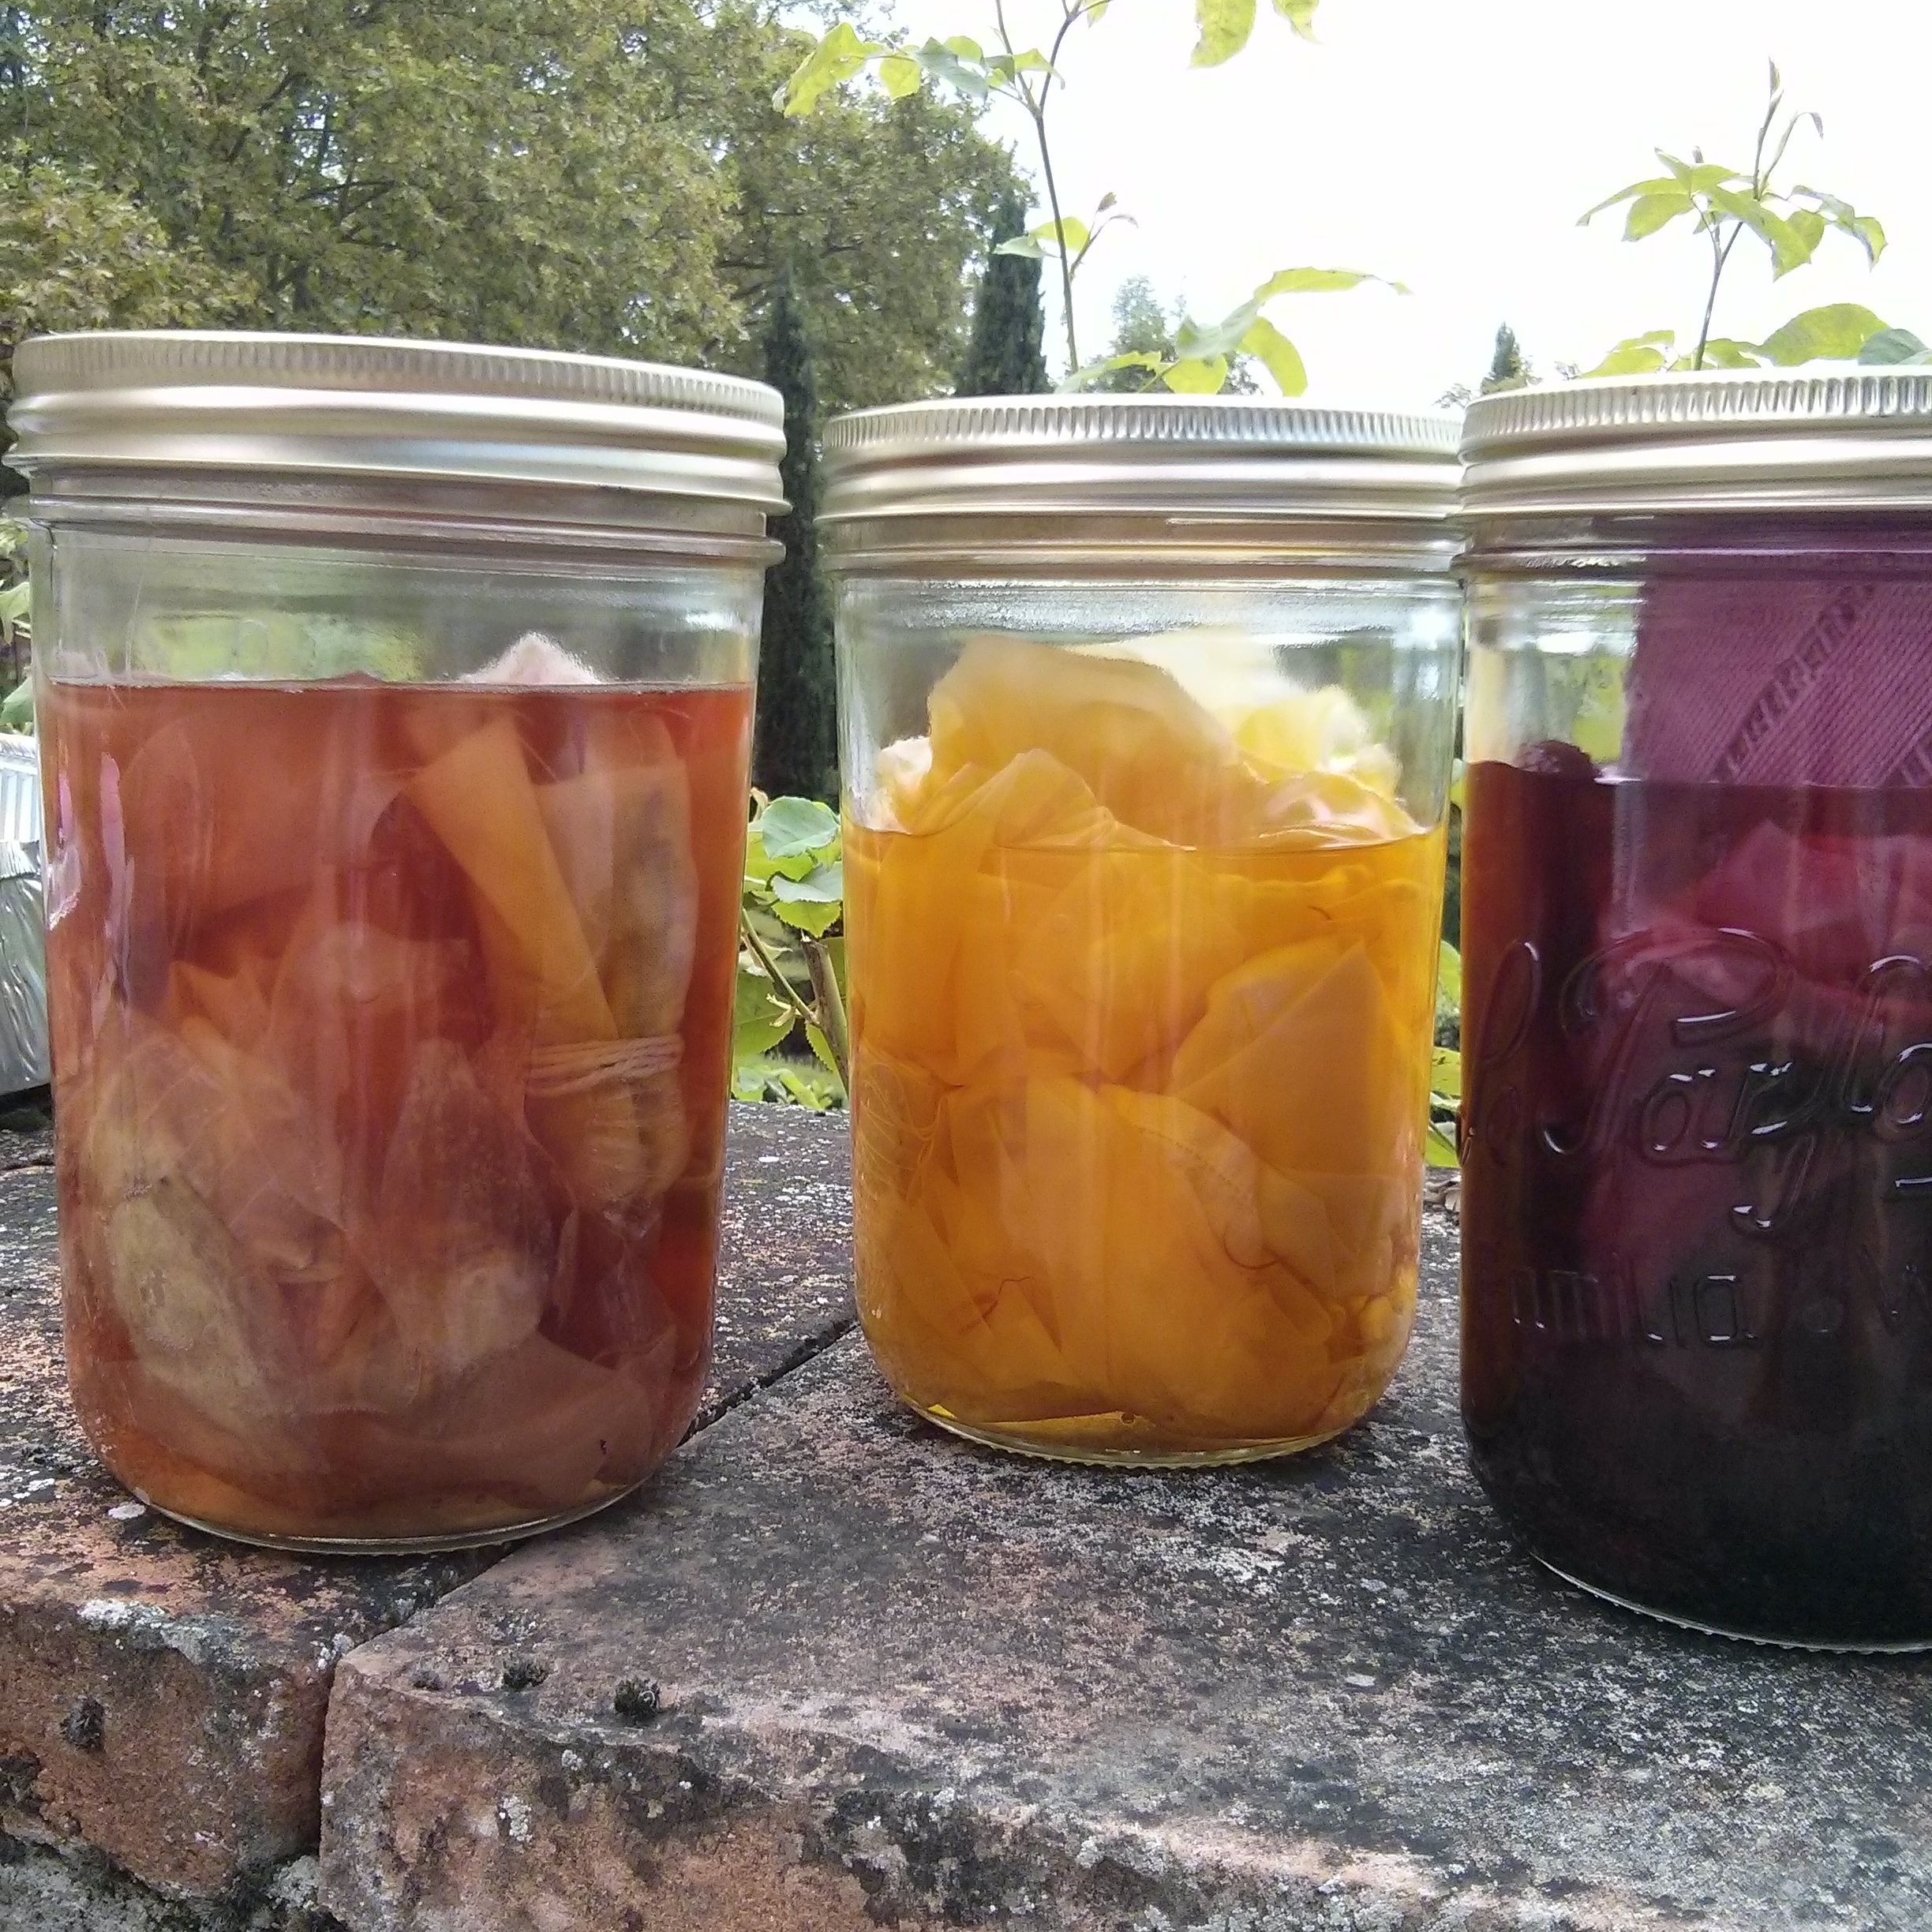
Natural Dye: local plant bundles
After a year or so of experimenting with natural dyes, I’ve had plenty of disappointments alongside a lot of happy accidents, although very few ‘turned out just how I planned’. I am not a precise, measuring, recording, repeating kind of dyer. I read a lot about dyes and then I experiment, break the rules, mess…
-
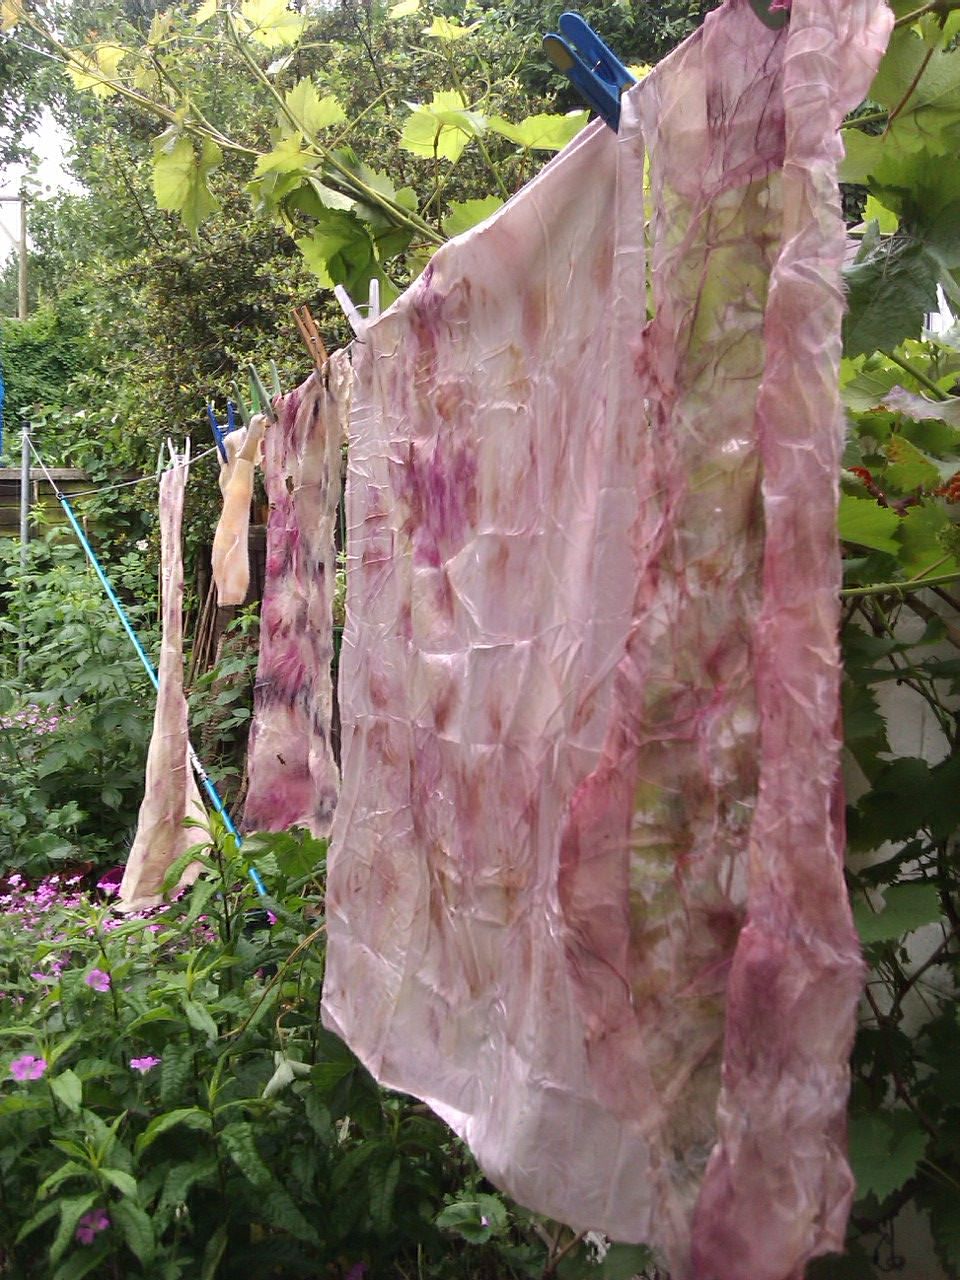
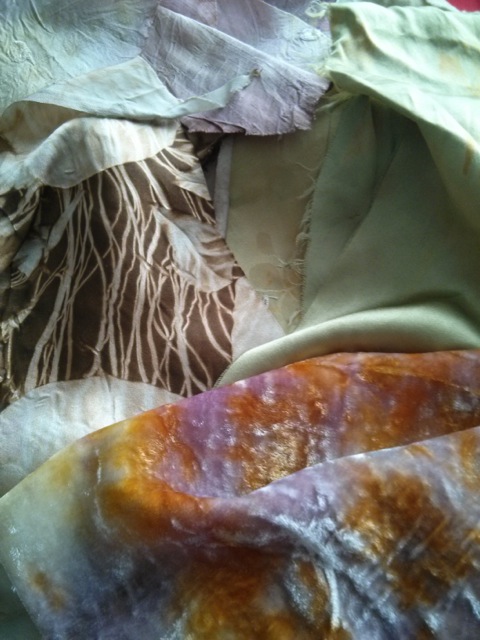
Petal Dye
Dyeing fabric with petals (and some leaves) has to be one of the easiest and most satisfying way of putting natural colour onto cloth. It is ridiculously simple & effective, particularly on silk. I first tried it last year, after reading about it online, seeing what Hannah Lamb was doing with plant bundle (and in India…
-
Natural Dye : Avocado
After about 15 years break, I’ve come back to experimenting with natural dyes. I am not sure what took me so long. I suppose my old studio wasn’t set up for wet work, and for many years I lived with other people who would not appreciate messy dyestuff in their kitchens. For the last few…