 I had a really frustrating day in the studio today. Took loads of photos and only the non-urgent ones came out well. I’ve spent the evening trying to rescue them and have given up. I just have t pray for sunshine on Monday so I can try again in natural light…
After 2 hours of photos I was too tired and fed up to get on with anything vital, so I finally made a start on a board to store threads. I planned this ages ago, but it’s not been on the top of the list, but was perfect today. A little sawing and nailing and here it is.
It was so easy, I thought I would share a super-easy tutorial with you.
First take a piece of board – try and recycle something. I used a old shelf that was found for the purpose in the parental shed, and after a bit of scrubbing it turned out really nice. I was planning to paint the board, but it was such a nice bit of wood that I left it untreated. Also I am lazy. Use whatever size board you need for the number of threads you have.
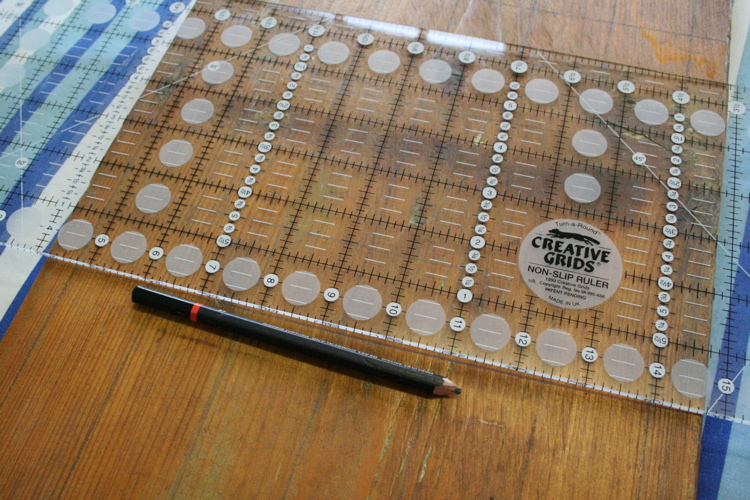
Measure out 1.5″ squares on the board, starting about half an inch from the edge. I used my quilting guide and a soft pencil to mark it out. Just draw a grid of squares straight on if you want, or just mark the dots for the corners where the nails will go in. The first one I made had 2″ squares – this is what you see, and makes a nicely spaced board ideal for sylkos and bigger spools.
My second version has closer spaced nails ideal for spindly guttermans. I ran out of nails for that one so no pics…
I used 40mm panel pins – about 2″, thin narrow nails with almost no head. Nail them in at each mark and an angle of about 60 degrees. I found this easy to do by sitting down, resting the bottom of the board in my lap, and the top on the edge of a table. It’s a bit more tricky to do ones at the bottom of the board though.
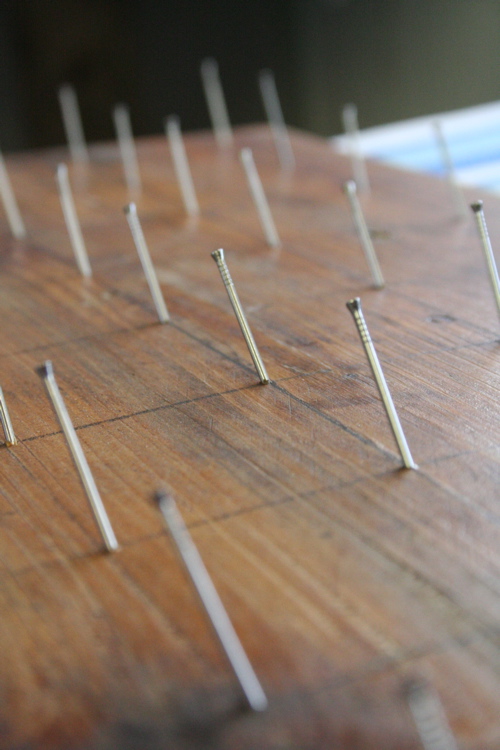
Two or three taps with the hammer was enough – they aren’t holding any weight and you don’t want them too short.
That’s it! Then you can play around arranging your colours as you wish. I’ve got this propped up on a shelf, but the eventual plan is to mirror-plate them to the wall, but my studio walls are incredibly hard, so I decided to save the drilling for another day.
These nails are a bit short for long guttermans spools, but I like the wobbly effect. If you want it neater for long spools then use longer nails. I just used what I had.
I also didn’t realise that I had over 100 spools. No wonder I was desperate for some kind of efficient storage. This orderliness is all part of a plan to make the studio tidier but also more decorative. I am hugely jealous of people with lovely designed studios (usually in their homes). Mine is practical, basic and untidy. I plan to devote some time over Easter to making it nicer – which gives me a great excuse to buy new (second-hand) storage. Enough with plastic. Old drawers are the way forward. And a coat of paint, and some nails in those rock-hard walls to display nice things.


Let me know what you think